Goal

In this part we will create the react frontend for the image upload. We will use create react app for that purpose. Aside from that we will install axios to send XMLHttpRequests XMLHttpRequests to the browser. For the user interface we will use components from material ui.

Prerequisites

To implement the entire image upload application part 1 and part 2 of the blog series should already be implemented. For the installation of npm packages both node.js and npm should already be installed.

Create the react frontend

In the root directory of our project we create a new react project with Create React App in the folder frontend:

				
					~/projects/image-upload$ npx create-react-app frontend


The file structure looks like this afterwards:

Image 1: Frontend file structure.

Create .env file

Now we will create a .env -file. In the root folder we will execute the following command:

				
					~/projects/image-upload$ touch frontend/.env
				
			
Image 2: Frontend .env-File.

In the .env -file we insert the following:

				
					REACT_APP_BACKEND_URL=http://localhost:8000
REACT_APP_API_URL=http://localhost:8000/api
REACT_APP_FRONTEND_URL=http://localhost:3000


Similar to the .env-file in the backend we insert the URLs for frontend and backend complemented by the API url.

Install and configure axios

Using npm we install Axios in the frontend directory:

				
					~/projects/image-upload$ cd frontend && npm i axios


In the directory src we create a new folder api:

				
					~/projects/image-upload/frontend$ mkdir src/api


In the new creates folder src/api we add a file axios.js:

				
					~/projects/image-upload/frontend$ touch src/api/axios.js
				
			
Image 3: Api folder with file axios.js.

In axios.js we add the following code:

axios.js
				
					import Axios from "axios";

const axios = Axios.create({
    baseURL: process.env.REACT_APP_API_URL,
    headers: {
        "X-Requested-With": "XMLHttpRequest",
    },
});

export default axios;


With the above code we created a new axios-instance We are going to use his instance in the file save.js:

				
					~/projects/image-upload/frontend$ touch src/api/save.js
				
			
Image 4: Api folder with file save.js.

The file save.jswe will populate with the following content:

save.js
				
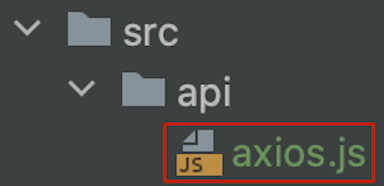
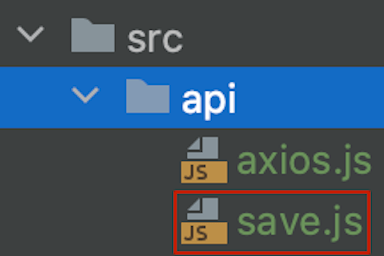
					import axios from "./axios";

export const saveImage = async (image) => {
    image &&
    axios
        .post(
            `http://localhost:8000/api/save/image`,
            { image },
            {
                headers: {
                    "Content-Type": "multipart/form-data",
                },
            }
        )
        .then((response) => {
            if (response?.status === 200) {
                console.warn("Bild gespeichert!");
            }
        })
        .catch((error) => {
            if (error?.response?.status !== 422) throw error;
            console.warn(error.response.data.message);
        });
};


Install Material UI

For the user interface we will install Material UI. In the directory frontend we execute:

				
					~/projects/image-upload/frontend$ npm install @mui/material @emotion/react @emotion/styled


Next we delete the content of the filesrc/App.js and add the following file input and submit button from Material UI :

App.js
				
					import "./App.css";
import Typography from "@mui/material/Typography";
import { Container, Button, Grid } from "@mui/material";
import { saveImage } from "../../api/save";
import { useState } from "react";

function App() {
  const [image, setImage] = useState();

  const handleFileChange = (evt) => {
    setImage(evt.target.files[0]);
  };

  return (
    <Container maxWidth="sm" sx={{ textAlign: "center" }}>
      <Typography variant="h3" component="h1">
        Image Upload
      </Typography>

      <Grid py={2}>
        <input required type="file" onChange={handleFileChange} />
      </Grid>

      <Grid py={2}>
        <Button
          variant="contained"
          onClick={() => (image ? saveImage(image) : null)}
        >
          Hochladen
        </Button>
      </Grid>
    </Container>
  );
}

export default App;


Start the application

In the next step we start both the backend and frontend server.

To start the backend server we first change directory toBackend directory:

				
					~/projects/image-upload/frontend$ cd ../backend


We run the following command afterwards:

				
					~/projects/image-upload/backend$ php artisan serve


In another terminal window we start the frontend server (change toFrontend-directory before):

				
					~/projects/image-upload/frontend$ npm run start


The frontend is now available in the browser at http://localhost:3000:

Image 5: Frontend in the browser.

If the port 3000 is already in use a prompt appears if another port should be used:

Bild 6: Wenn der Standard-Port (3000) belegt ist, kann auf Nachfrage ein anderer Port genutzt werden.

We now can test the image upload with the help of the frontend:

Image 7: The file example.png will be uploaded.

After click on the “Upload” button we will get a response in the Developer Tools:

Image 8: Output in the console of the developer tools.

The database contains a new entry now:

Image 9: Database entry after image upload.